Embarking on a kitchen transformation can be both an exhilarating and daunting task, especially when it comes to selecting the perfect materials to suit your style and budget. For those of you looking to infuse a touch of modern elegance into your space, glossy white adhesive vinyl offers a versatile and cost-effective solution. Whether you’re a DIY enthusiast eager to tackle home projects or a renter seeking temporary upgrades, understanding the nuances of choosing the right vinyl is crucial. In this guide, you’ll discover expert tips to help you navigate the selection process and achieve a stunning, functional kitchen makeover.
Understanding the Appeal of Glossy White Adhesive Vinyl for Kitchen Cabinets
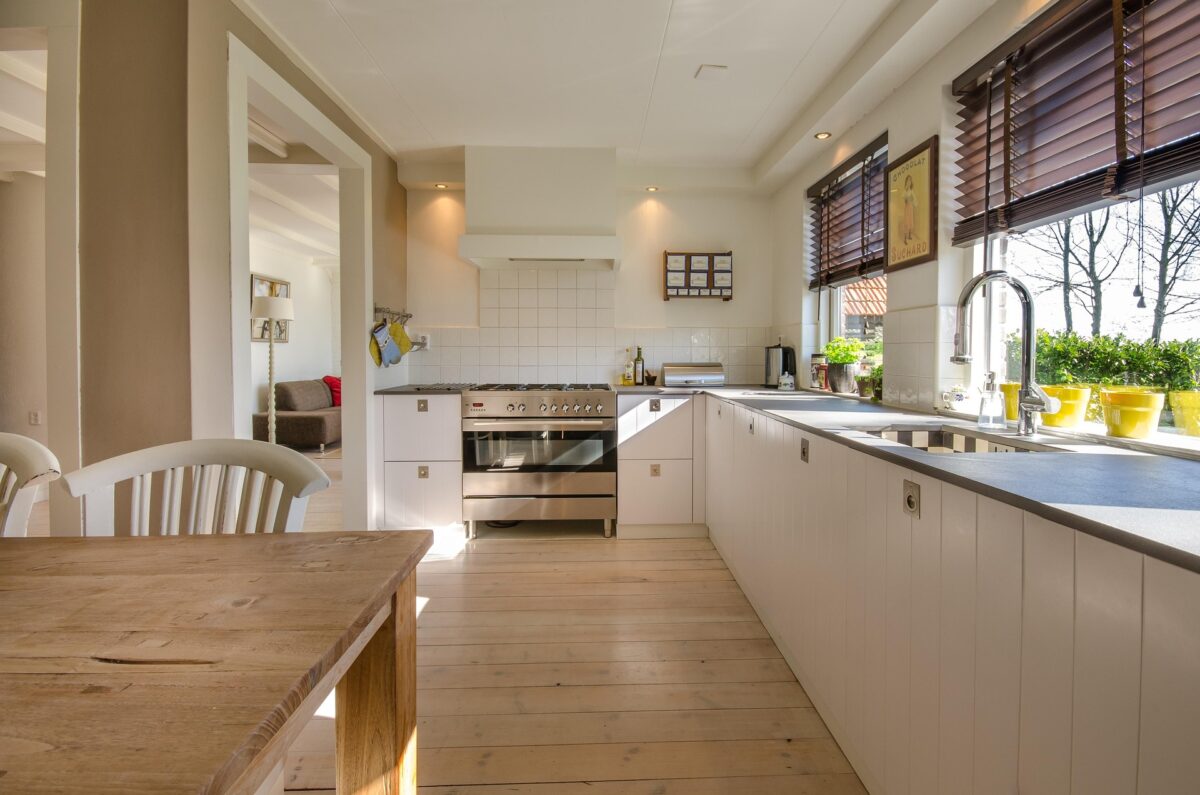
Aesthetic Versatility
Glossy white adhesive vinyl for kitchen cabinets offers an incredible level of aesthetic versatility. Its sleek, reflective finish complements a variety of design themes, from modern minimalism to classic elegance. Whether you’re aiming to brighten up a dreary kitchen or add a touch of sophistication, the glossy sheen of this material can transform your space. Self adhesive vinyl for cabinets is perfect for those who want to maintain a contemporary vibe without committing to permanent changes. Its ability to reflect light can make small kitchens appear more spacious and inviting.
Cost-Effective Solution
For budget-conscious homeowners and renters, glossy white adhesive vinyl represents a cost-effective alternative to traditional cabinetry upgrades. Rather than investing in costly renovations, you can achieve a high-end look without breaking the bank. This material is notably less expensive than replacing cabinet doors or repainting, yet it delivers a striking visual impact. DIY enthusiasts particularly enjoy this approach, as it allows them to customize their kitchen’s appearance while keeping costs manageable.
Ease of Application
One of the most appealing aspects of using glossy white adhesive vinyl is its ease of application. With a little patience and precision, you can apply the vinyl yourself without professional help. This accessibility makes it an attractive option for those eager to engage in a DIY project. The process typically involves cleaning the surface, cutting the vinyl to size, and smoothing it onto the cabinets. The best vinyl wrap for cabinets will adhere smoothly, ensuring a professional finish even for beginners.
Durability and Maintenance
Despite its affordability, glossy white adhesive vinyl is surprisingly durable. It resists scratches, stains, and moisture, making it ideal for kitchen environments. Moreover, maintaining it is simple: a quick wipe with a damp cloth keeps the surface looking pristine. This minimal maintenance is a considerable advantage for busy households seeking both style and functionality. When selecting the best adhesive vinyl for kitchen cabinets, consider those brands known for their long-lasting finish and resilience, especially in high-use areas like the sink.
How to Choose the Best Vinyl Wrap for Cabinets: Key Features to Consider
Material Quality
When selecting self adhesive vinyl for cabinets, the quality of the material should be your primary consideration. Opt for a vinyl that is durable and designed to withstand moisture and heat, common in kitchen environments. High-quality vinyl not only ensures longevity but also maintains its glossy finish over time, resisting scratches and stains that can mar its appearance. Always check for vinyl that is labeled as waterproof and heat-resistant, as this will ensure your cabinets remain pristine even in the face of spills and steam.
Adhesion and Ease of Application
The adhesive strength of the vinyl is crucial for a seamless application. Look for products that promise strong adhesion yet allow for repositioning during installation. This flexibility can be a lifesaver if you need to make adjustments to align the vinyl perfectly. Many best vinyl wrap for cabinets options offer bubble-free technology, making the application smooth and hassle-free, even for beginners. Remember, a high-quality adhesive should be strong enough to last but gentle enough not to damage the cabinet surface during removal.
Aesthetic Appeal
The visual impact of your kitchen cabinets is significant, so choosing a vinyl that complements your design vision is essential. How to choose glossy white adhesive vinyl kitchen cabinets often hinges on matching the vinyl’s shade of white with your kitchen’s overall color scheme. Consider the level of gloss you desire; some prefer a high-gloss shine for a modern look, while others might opt for a more muted sheen. Evaluate samples in your kitchen’s lighting to ensure the vinyl meets your aesthetic expectations.
With these considerations in mind, you can transform your kitchen cabinets into stylish, functional pieces that enhance your home’s overall appeal.
Step-by-Step Guide to Installing Self Adhesive Vinyl for Cabinets
Preparation and Planning
Before embarking on the journey of transforming your kitchen cabinets with glossy white adhesive vinyl, meticulous preparation is crucial. Start by measuring your cabinet surfaces accurately. This ensures that you purchase the right amount of self adhesive vinyl for cabinets, avoiding unnecessary waste or shortages. Consider the cabinet layout and any challenging areas, such as corners or edges, that may require special attention.
Next, prepare the cabinet surfaces. Thoroughly clean them with a gentle detergent to remove grease and dirt. A clean surface promotes better adhesion and longevity of the vinyl wrap. After cleaning, ensure that the cabinets are completely dry to prevent moisture from undermining the adhesive properties.
Application Process
With the cabinets prepped, you’re ready to begin the application. Follow these steps to achieve a professional finish:
- Cutting the Vinyl: Cut the best vinyl wrap for cabinets to fit each section precisely. Use a sharp utility knife or scissors for clean edges, and always cut slightly larger than needed to allow for adjustments.
- Peeling and Sticking: Start from one edge of the cabinet and peel back a small section of the vinyl’s backing. Align it carefully with the cabinet’s edge and press firmly as you continue to peel and stick the rest. Use a squeegee or a credit card to smooth out any bubbles.
- Trimming and Final Touches: Once applied, trim any excess vinyl with a utility knife for a crisp finish. Pay attention to corners and edges, ensuring they are securely adhered.
Post-Installation Care
After installation, give your newly wrapped cabinets a gentle wipe with a soft cloth to remove any fingerprints or residues. Maintain their lustrous appearance by cleaning regularly with non-abrasive cleaners. This not only keeps them looking pristine but ensures the longevity of the glossy finish, keeping your kitchen stylish and functional for years to come.
Style Tips for Incorporating Glossy White Vinyl in the Kitchen Sink Area
Embrace Minimalism
When incorporating glossy white vinyl around your kitchen sink area, consider embracing a minimalist design. This approach not only capitalizes on the sleek, reflective surface of the vinyl but also contributes to a clean, sophisticated look. Keep the surrounding elements uncomplicated: streamline your choice of faucets, opt for simple cabinet handles, and let the glossy white adhesive vinyl take center stage. By reducing clutter and distractions, you’ll enhance the vinyl’s ability to reflect light, making your kitchen appear more spacious and inviting.
Balance with Contrasts
To prevent the space from feeling too stark or clinical, balance the glossy white with contrasting elements. Introduce darker hues through accessories like a matte black faucet or charcoal gray appliances. Alternatively, consider a wood finish for your countertops to add warmth and texture. These contrasting elements will create a visually appealing space that strikes the perfect balance between modernity and comfort. It’s also a clever way to highlight the best adhesive vinyl for kitchen cabinets by setting it against these contrasting materials.
Incorporate Functional Decor
Functional decor can be both practical and stylish when using self adhesive vinyl for cabinets. Think of open shelving, where you can place frequently used items like glass jars or ceramic dishes. Choose pieces that complement the vinyl’s gloss and maintain a cohesive aesthetic. By blending function with style, you ensure that your kitchen remains a practical workspace without compromising on design. Incorporating functional decor strategically allows the best vinyl wrap for cabinets to shine, enhancing both the form and function of your kitchen sink area.
Budget-Friendly Remodeling: Best Practices for Using Adhesive Vinyl in Kitchen Upgrades
Understanding the Appeal of Adhesive Vinyl
When considering a kitchen facelift, glossy white adhesive vinyl offers a versatile and budget-friendly solution. This material allows you to transform your kitchen cabinets without the expense and disruption of a full renovation. Its appeal lies not only in cost efficiency but also in its aesthetic potential. Glossy white surfaces can reflect light, creating a clean, modern look that makes your kitchen appear brighter and more spacious.
Choosing the Right Vinyl
Selecting the best adhesive vinyl for kitchen cabinets requires careful consideration of several factors. Durability is paramount; opt for products specifically designed to withstand the rigors of a kitchen environment. Consider water resistance, especially for areas near the sink, where exposure to moisture is inevitable. The adhesive quality is also crucial—strong enough to ensure longevity but gentle enough to avoid damaging underlying surfaces should you choose to remove it.
Application Tips and Tricks
Preparation is key to a successful vinyl application. Begin by thoroughly cleaning the cabinet surfaces to remove grease and dust, which can impede adhesion. Measure and cut the vinyl precisely, allowing for a margin to ensure full coverage without visible gaps. During application, use a squeegee or a similar tool to smooth out air bubbles, working from the center outward. This meticulous approach ensures a professional finish that enhances the overall appeal of your kitchen.
Maintaining Your Vinyl Surfaces
Once applied, maintaining your self adhesive vinyl for cabinets is straightforward. Regularly wipe the surfaces with a damp cloth and mild detergent to preserve their sheen and prevent buildup. Avoid abrasive cleaners, which can scratch the glossy finish. With proper care, your vinyl-coated cabinets will remain a stylish and functional component of your kitchen for years to come.
By considering these expert tips, you can effectively choose and apply the best vinyl wrap for cabinets, achieving a stunning transformation that aligns with your budget and style preferences.
Conclusion
In your pursuit of a stylish and practical kitchen upgrade, choosing the right glossy white adhesive vinyl for your cabinets is paramount. By considering factors such as durability, ease of application, and compatibility with your sink area, you can transform your space with minimal cost and effort. As a budget-conscious homeowner, renter, or DIY enthusiast, these expert tips empower you to make informed decisions that enhance both aesthetics and functionality. Embrace the versatility and elegance of glossy white vinyl, and enjoy a refreshed kitchen that reflects your personal style and meets your practical needs. Your dream kitchen is just a peel-and-stick away.